I was starting to pine for the outdoors in the wake of the Kiwi Brevet and suggested that we load up the Jville Cycles Tandem and head for a short over-nighter somewhere close to home. Finding somewhere was a lot harder than we thought, so we ended up just taking the Hutt Valley River trails and riding from Lower Hutt to the top of the Rimutaka Incline and camping out there.

 |
| The little Trangia stove |
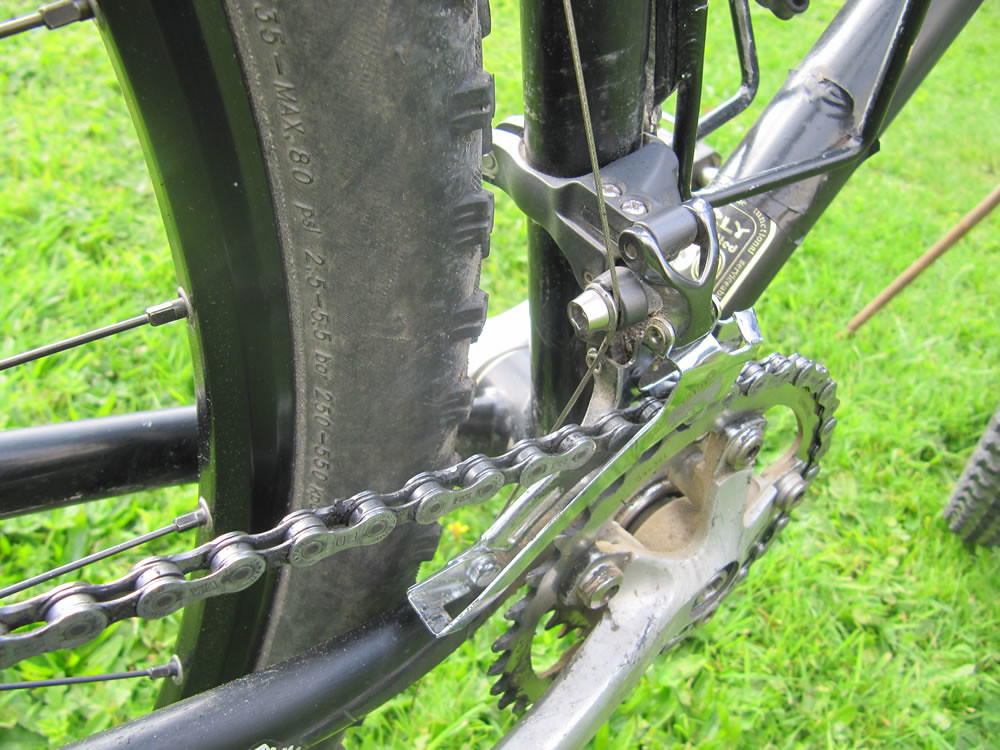
I noticed the rear cog on the tandem was very hooked, and had to wonder if it was not just my imagination that someone was pedalling backwards at times! Getting a sore butt seemed to be the major problem for Kay so many short stops were called for. I think the fact that you really need to be still on a tandem so as not to cause balance issues is partly to blame, as the seat was comfy, and also sported a suspension seat post. Obviously a lack of ride time for my stoker was the main issue, but by the time we finished our ride there was less protestations on the downhills and I got far less arm-pump from over braking than I did on day one.
 |
| On the way back |
We borrowed my daughter's tent and managed to repack it into a smaller package for stowing. Other items we took were two sleeping bags and mats and a small cooking kit with my little Trangia stove which I brought for the Kiwi Brevet but had not yet been used. One dehydrated meal for tea, a couple of porridge sachets and some Milo and we were set.
 |
| More suspension than we could handle! |
If anyone is interested in hiring the Jville Cycles Tandem then get in touch with its minder, Peter Colvin who is building up a fleet of hire bikes and currently has 3 tandems. Peter and his lady have toured overseas so he knows a thing or two about setting one up. By the way this one seemed to have about 6 inches of travel on the front so it was a bit wasted on us!
Contact for Pete: 021 480 775