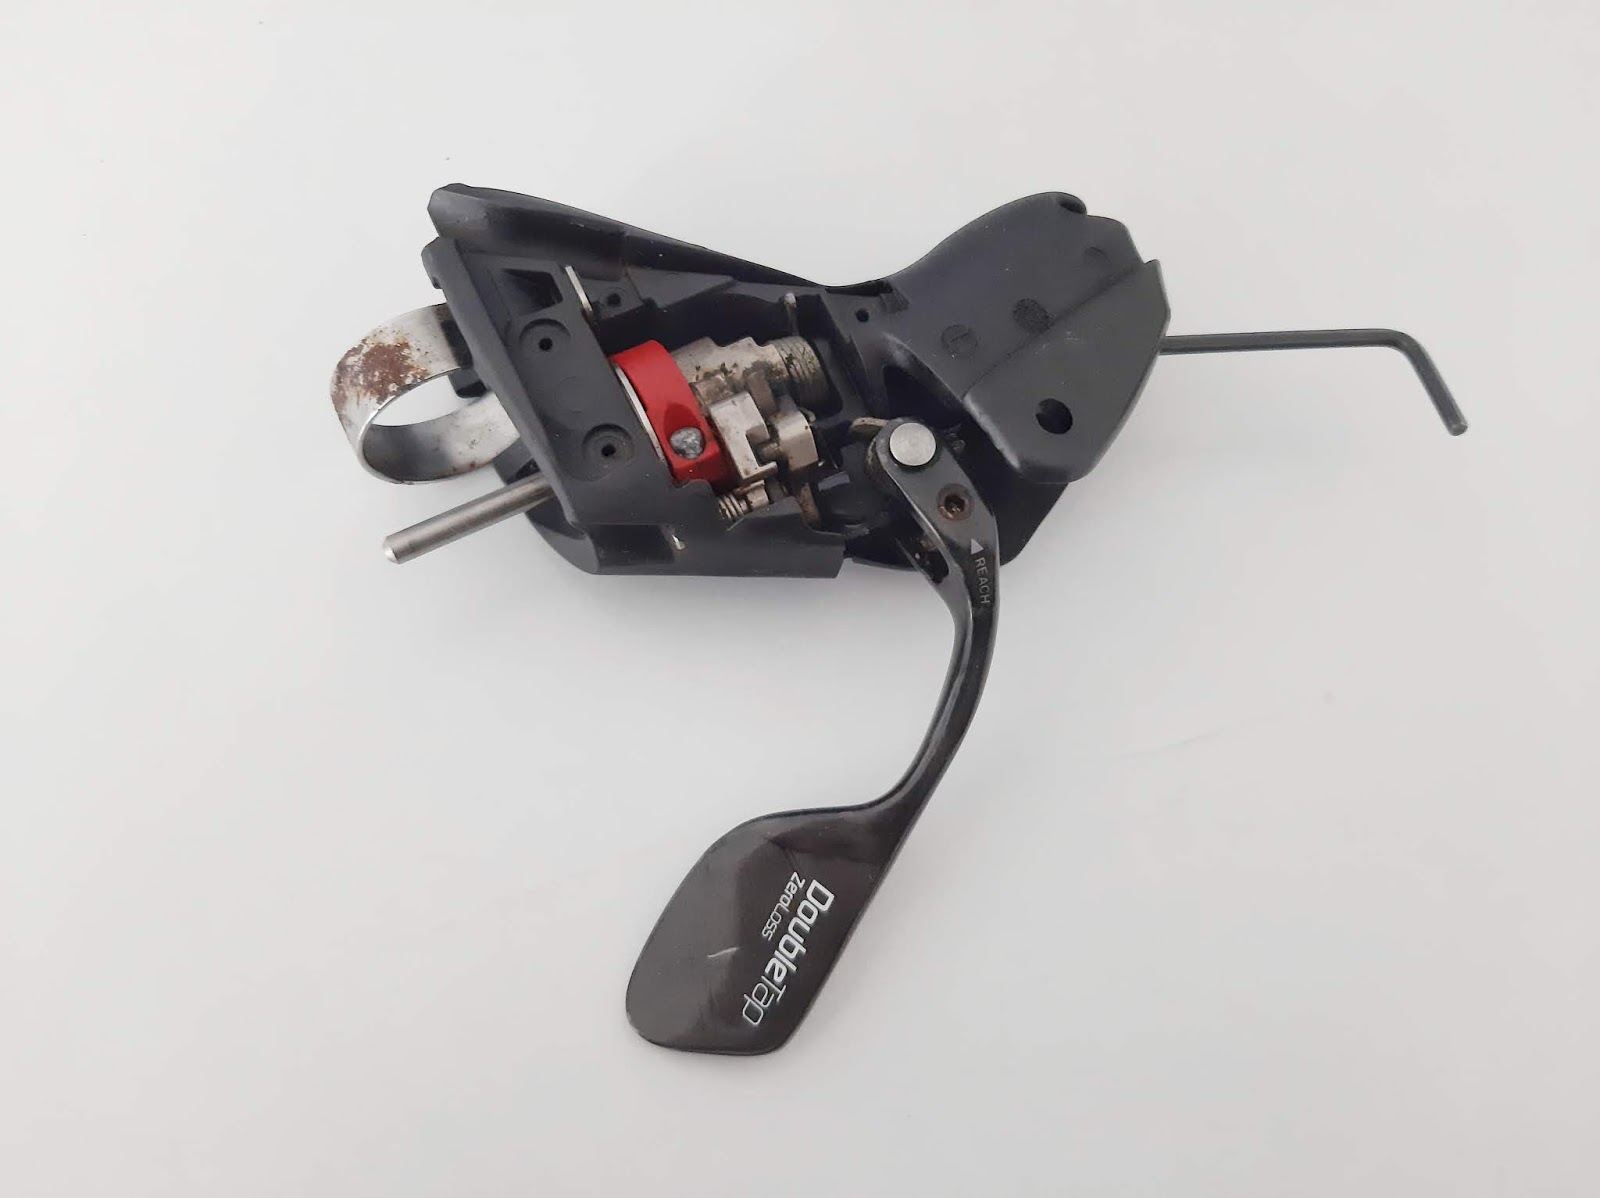
A resource on how to reclaim your gears, from the evil "clutches" of the 1x cult, and general messing with the internal organs of Sram road levers
Keywords: Sram 1x, Sram Force, Sram Red, Sram Rival, Sram 1x to 2x conversion
This post is divided into 4 parts
1. The rant
2. Sram Force 2x transplant
3. Sram Red, cable brake organ extraction
4. 2x dropper-post actuation
5. Generation 1 SRAM levers...
=============
Not a great idea
Hindsight
is a great thing but I would have thought stopping people from having a decent
range of gears on gravel bikes was a foolish move. Currently, Sram only makes
clutched rear deraillers for 1x usage, unlike Shimano who now have GRX
and the Ultegra RX. The Shimano stuff was a very long time coming, but at least it works with 2x. Before 1x we didn't have clutches, wide-range cassettes or narrow-wide chain-rings. We did have 2 chain rings up front and a derailleur which did double duty as a chain-guide.
My recently purchased bike came with Sram Force
1x, but after realising that it was just a gutted 2x lever, I tried to
track down some internal organs for it. Easier said than done. I put the word out
on the street, on the forums, on the FB, and signed up to the donor
programme.
6 months later my plight had reached Australia, and my friend
Paul brokered a deal through his buddy Grover. At last, I had a match. I
just had to wait 2 months for the gizzards to make it to my house
because of the Covid lock-down !
I already had a couple of sets
of Sram Red cable shifters, so I found some tutorials online and
practiced on them, using it as a chance to compare the cable gizzards with the hydro gizzards. Only the red coloured shifter-drum appeared to
be identical in both variants, but the word on the street is that between variants they are compatible. Eg, the Hydro stuff will all fit inside the different Hydro bodies, (Force, Rival, Apex) and the cable stuff will all fit inside the different cable bodies. Someone has said that an 11 speed shifter drum will also fit into a 10speed Hydro body. The Sram S-700.
My aim was to install a 2 speed Rival Hydro gizzard into my Force Hydro body, which was devoid of internal organs. To gather confidence in this project, I dismantled 2 different sets of Sram Red cable brake/shifters, for practice. I learnt a heap doing this, the most useful thing being the order of putting the stuff back into the brake/shifter assembly body.
==========================
Sram Force 1x has a Rival 2x transplant
With the Hydro brakes, like the Force, you don't really need to remove the brake lever blade. You do on the cable brakes, as it gives you a better shot at access to the "skewer pin" that goes through all the organs inside the brake. The shifter-drum and the shifter mechanism are held in by this pin. Forcing it out is a major PITA on the cable brakes, BUT, on the hydro brakes, the pin is hollow with an internal thread tapped into it.... there must be an official tool for screwing into the back of this pin, for its removal, although given that you cant buy these small parts, I don't know why you would sell such a tool.
None of the above is relevant anyway, as my existing assembly is devoid of organs. I can just back off the retainer screw that stops the "skewer-pin" from backing out, and drag it out with some small pliers, after I have taken off the cover.
 |
| Top left, undo 3 screws and remove cover. Top and bottom right loosen retainer screw. Bottom left, see back of skewer-pin. |
This is what you see when you take the cover off a 1x assembly.
 |
| Checkout the "skewer-pin" , your 1x should come with skewer pin still installed. |
See below the gizzards Paul and Grover sent me from Australia. While its true I dismantled 2 sets of Red cable brakes for practice, I also wanted to check how different the internals from the Red cable brakes were from the Hydro Rivals.
 |
| I just made these names up, so don't go looking for them at Sram HQ ! |
See the photo-grid below for the order of assembly. Left to right, in two rows.
Install the giblets in this order. Top left, the pawl with its little spring and axle. Carefully put the tiny circlip on. Don't do this in an area where you could lose the circlip if you slip.
Bottom left, pull back the pawl, and slide the shifter-drum in, being careful that the drum's springy bits are in the right place. Its pretty obvious I think. Jiggle the shift-drum around while applying pressure on the skewer-pin, which you have inserted into the skewer-pin hole, (at the back of the assembly) until the skewer pin "skewers" the shifter-drum.
Oh yes, you should adjust the reach on the brake blade so that it is as forward as it can be, this gives you more wiggle-room when inserting the paddle mechanism. When you have adjusted the brake out, you can try to insert the paddle mechanism.
Here is my technique for inserting the paddle mechanism, the last time I did it, everything went into place on my first try.
Rotate the shifter-drum upwards quite a way, maybe 90 degrees? (you have already lined it up so that the skewer-pin is holding it in place) so its not that hard to hold.
When you have rotated it up far enough, the cut-out in the drum gives you room to slide the paddle mechanism in. When you are at this point, the pawl usually slips down below the shifter-drum, into a position that is not ideal. Don't worry about it. Jigger the paddle mechanism around until you can skewer it with the skewer pin, but making sure that you hook the little spring at the top, into its proper slot. (see red arrow below).
When you have done that, rotate the shifter drum forward again, and hook the pawl out from below the shifter drum, into its proper position.
 |
| Top, red-arrow shows where the spring fits into the body. |
Use the paddle a few times to check that its all good to go, then put the cover back on !
Lubrication.
I put some grease on the skewer pin. I'm sure I could add more, but at the moment I'm not sure how much to throw around, as it has potential to trap dirt in there. Google it ?
NB. You should be able to do all the above without having to mess with any dirty hydraulic hosiery and related bleeding.
==========================
Disassembly of Sram Red, 10 speed
As mentioned earlier, the difficulty with getting the guts out of the cable braked variants is all about forcing that central skewer-pin out. It can be very tricky finding the hole at the front of the brake assembly.
To make it a lot easier, you really need to remove the brake blade (lever) for better access, before you start on removing that skewer-pin.
There is a small circlip holding the pin that the brake blade pivots on. As usual, be careful you don't lose the circlip when you flick it off. The pin that the brake blade pivots on can sometimes get a bit stuck. Support it from below and tap it out gently with an allen key, or if stubborn, a nail punch.
 |
| Sram Red 10 speed with the brake blade pin removed. |
On the top of the brake body assembly there is a small allen headed bolt. This is an adjuster that pushes a plastic block up and down inside the brake body. With simple elegance, the plastic block contacts the side of the brake blade altering its position (lever-reach). You want to wind that allen head anti-clockwise, this shifts the plastic block down it's pin, thus giving you a better line of access for when you try to push the central skewer-pin out.
On the first brake I messed with, the lower cir-clip was gone, the spring was gone, and the bolt was seized. In the second one, it worked perfectly, but while I was playing with it while writing this, it completely jammed up..... If it jams, or is already jammed, in the wrong spot, my condolences. It just means you are going to have to "jimmy stuff around" until you force something down that little hole, which you can't even see, and barely feel. It's a pretty crappy system for sure.
Some jewellers screw-drivers are really handy for all of this stuff, in particular flicking off circlips. In fact, I'm going to say, if this allen-headed bolt is still working correctly, don't mess with it too much, as in, putting it at extreme ends of its range, maybe just set it up in the middle while you try to get the central skewer-pin moving.
 |
| The position on the right is the best, as it gives you more room to jam your allen key in, when trying dislodge the skewer-pin, but given that I just managed to fatally jam the one in that photo, maybe go for a compromise and set it up in the middle. |
Remember, you cant force the skewer-pin out until you have partially screwed out the little phillips screw at the back, which serves as a backstop, so the skewer-pin can't back out.
 |
| Top, the little phillips screw that needs to be backed out a bit. Bottom, the chrome skewer-pin poking out a tad having been attacked from the front end of the brake assembly. Once there are a few mm of skewer out, grab it with some small pliers. |
So jam your skinny allen key into the hole in the front and force that skewer-pin out. If it's hard to do, flip the allen key around and use
the shorter end to get it started. If that cant get you in, try a
jewellers screwdriver. This is the only hard part to the exercise. Have patience, dont panic, do swear.
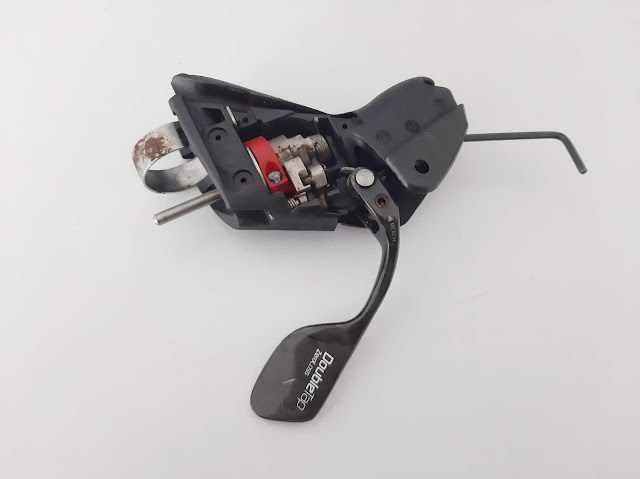 |
| At this point you pull the pin out fully with some pliers. |
|
|
|
|
|
|
So this is what it looks after you have pulled the central skewer-pin out. Clean it up and reninstall, or replace it with newer donor organs. The instructions for reinstalling the Hydro brake guts earlier up the page are exactly the same as for the cable brakes.
Here is a shot (below) of a reinstall of the cable gizzards for the
right hand shifter, its actually easier than the left hand shifter, when you are trying to fit the shift paddle in. Just keeping snicking the shifter drum up and up until its in about 4th gear, and it will stay there, leaving a gap for you to slot the paddle mechanism in. Easy peasy.
 |
| Stick it in 4th or 3rd gear to make room for paddle mechanism. |
Big time 1x weight weeners are probably going to save 34 odd grams if the right hand gizzards weigh a similar amount to the left, why not do it, and go singles-speed ! These are lighter than most single speed levers WITH the guts installed.... 144 grams minus 34 grams is 110 grams. I dont know of any levers that are that light.

===================
Doing a 2x dropper post
I watched Joey Mesa's dropper post tutorial below, and long story short, its a complete doddle. All you need to do is remove the circlip and pin that holds the little pawl in, and remove the pawl. Put it away someone safe. You wont need to do anything else, other than take the cover off so you can get access to the pin, and I guess remove the assembly from the handlebars, so you have room to back the pawl-pin out. Just wire it up as you would for any other cable. Long term I dont know if these components will be up to the rigors of dropper-post actuation. I have my doubts but what would I know.
Everything I've learnt about Sram 2x has been picked up in one week. Joey may have a follow-up on his dropper stuff long-term.
Everyone says that the Sram internals are elegantly simple compared to other shifting innards, and I can tell it's pretty resilient, given the amount of missing or broken circlips that I am finding MIA.
Have fun dithering, and remember, I am just a backyard mechanic with luddite tendencies.
===================
Old-school generation 1 SRAM levers
The oldest are the hardest to mess with as the shift paddle is actually 3 loose parts. A plastic bush, a simple spring, and the rest of the mechanism/frame, which sticks together. After swapping out the ratchet to the “up-speeded” one, replacing the aforementioned giblets requires a lot of manual dexterity as you are trying skewer the whole assembley with this pin that runs through everything, at the same time as you are forcing these parts onto place, against the force of the spring, while trying to keep the holes in the bush and the paddle frame aligned. Tricky as. Doable tho.
The other thing that is different is the way the brake lever pivots off the body. It does not have a circlip holding the pivot pin in. You have to force out the brake pin, which the lever pivots on, with a hex key or a nail punch. Check out this description on CXmagazine.com . You can see an exploded diagram of that particular lever set-up here. There is a plastic barrel with a slit in it, covering the pin - inside the brake lever. You need to pry open the barrel, to take the pressure off the pin, at the same time that you are trying to force it out.
===========
Relevant links
Sram tech-docs
https://www.servicearchive.sram.com/sites/default/files/techdocs/2020_sram_spc_-_rolling_rev_i.pdf
https://www.servicearchive.sram.com/sites/default/files/techdocs/2016_sram_spc_reva.pdf
https://www.bike-components.de/en/SRAM/Red-Brake-Shift-Lever-Spare-Parts-2008-2011-p52916/#product-image
https://www.cxmagazine.com/removing-sram-double-tap-shift-mechanism-single-ring#google_vignette
Tutorials
Cable braked 2x Sram gizzard dithering
Padraig at Red Kite prayer
Joey Mesa double-tap stuff
Joey Mesa double-tap swap (shorter).
Joey Mesa Sram dropper post activater